Digital experience and coding a new website
Creating a new website today goes beyond just having a digital presence; it’s about crafting a…
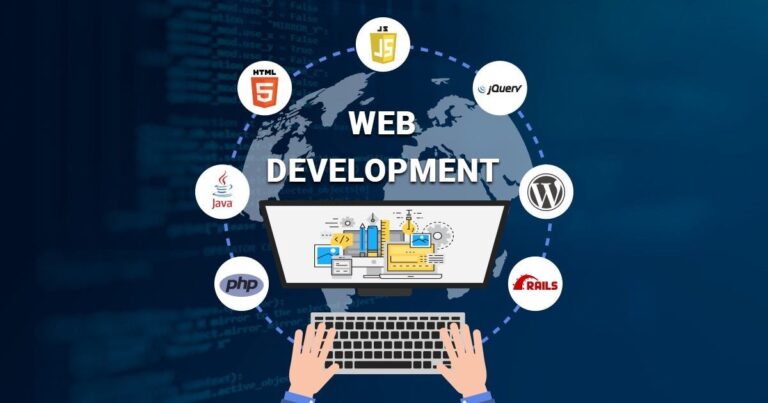
Creating a new website today goes beyond just having a digital presence; it’s about crafting a…

Python’s all() function is a powerful tool that allows you to check if all elements in…
Have you ever wondered how to convert an integer to a binary string in Python? We…

Are you curious about how to determine if an object is callable in Python? Look no…
Are you looking to efficiently determine if any element of an iterable is true in Python?…
Are you looking to extract structured data from websites efficiently and easily? Look no further than…

Are you a Python enthusiast looking to enhance your scientific and technical computing capabilities? SciPy is…
Are you tired of dealing with complicated HTTP requests in Python? Look no further than Requests…
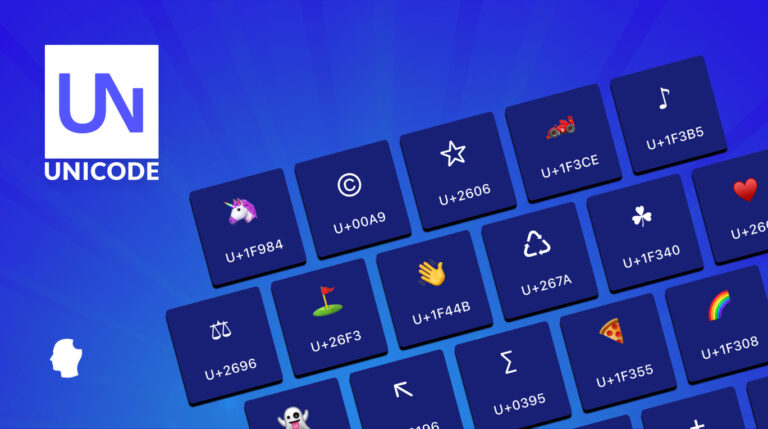
Are you curious about how to convert Unicode code points to characters in Python? Look no…
NumPy is a crucial tool for scientific computing with Python, offering robust support for multi-dimensional arrays…
Looking to gain a comprehensive understanding of Bytes and Bytearray in Python? This article covers bytes…
Python is a versatile programming language that has gained immense popularity in the world of web…
Are you curious about PyTorch and its benefits in the world of machine learning? We will…